COMMON MISTAKES TO AVOID DURING TREE TRANSPLANTING

COMMON MISTAKES TO AVOID DURING TREE TRANSPLANTING

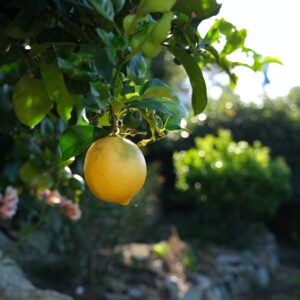
Tree planting holds significant importance for both environmental and community benefits, making it a crucial practice for sustainable urban and rural development. Here’s an overview of the key reasons why tree planting is essential:

Environmental Benefits:

Community Benefits:

Tree planting is a multifaceted practice that has far-reaching benefits for the environment, public health, and community well-being. It contributes to a sustainable and resilient future, where people and nature coexist harmoniously. Therefore, promoting tree planting initiatives and responsible tree care practices is essential for building greener, healthier, and more vibrant communities.

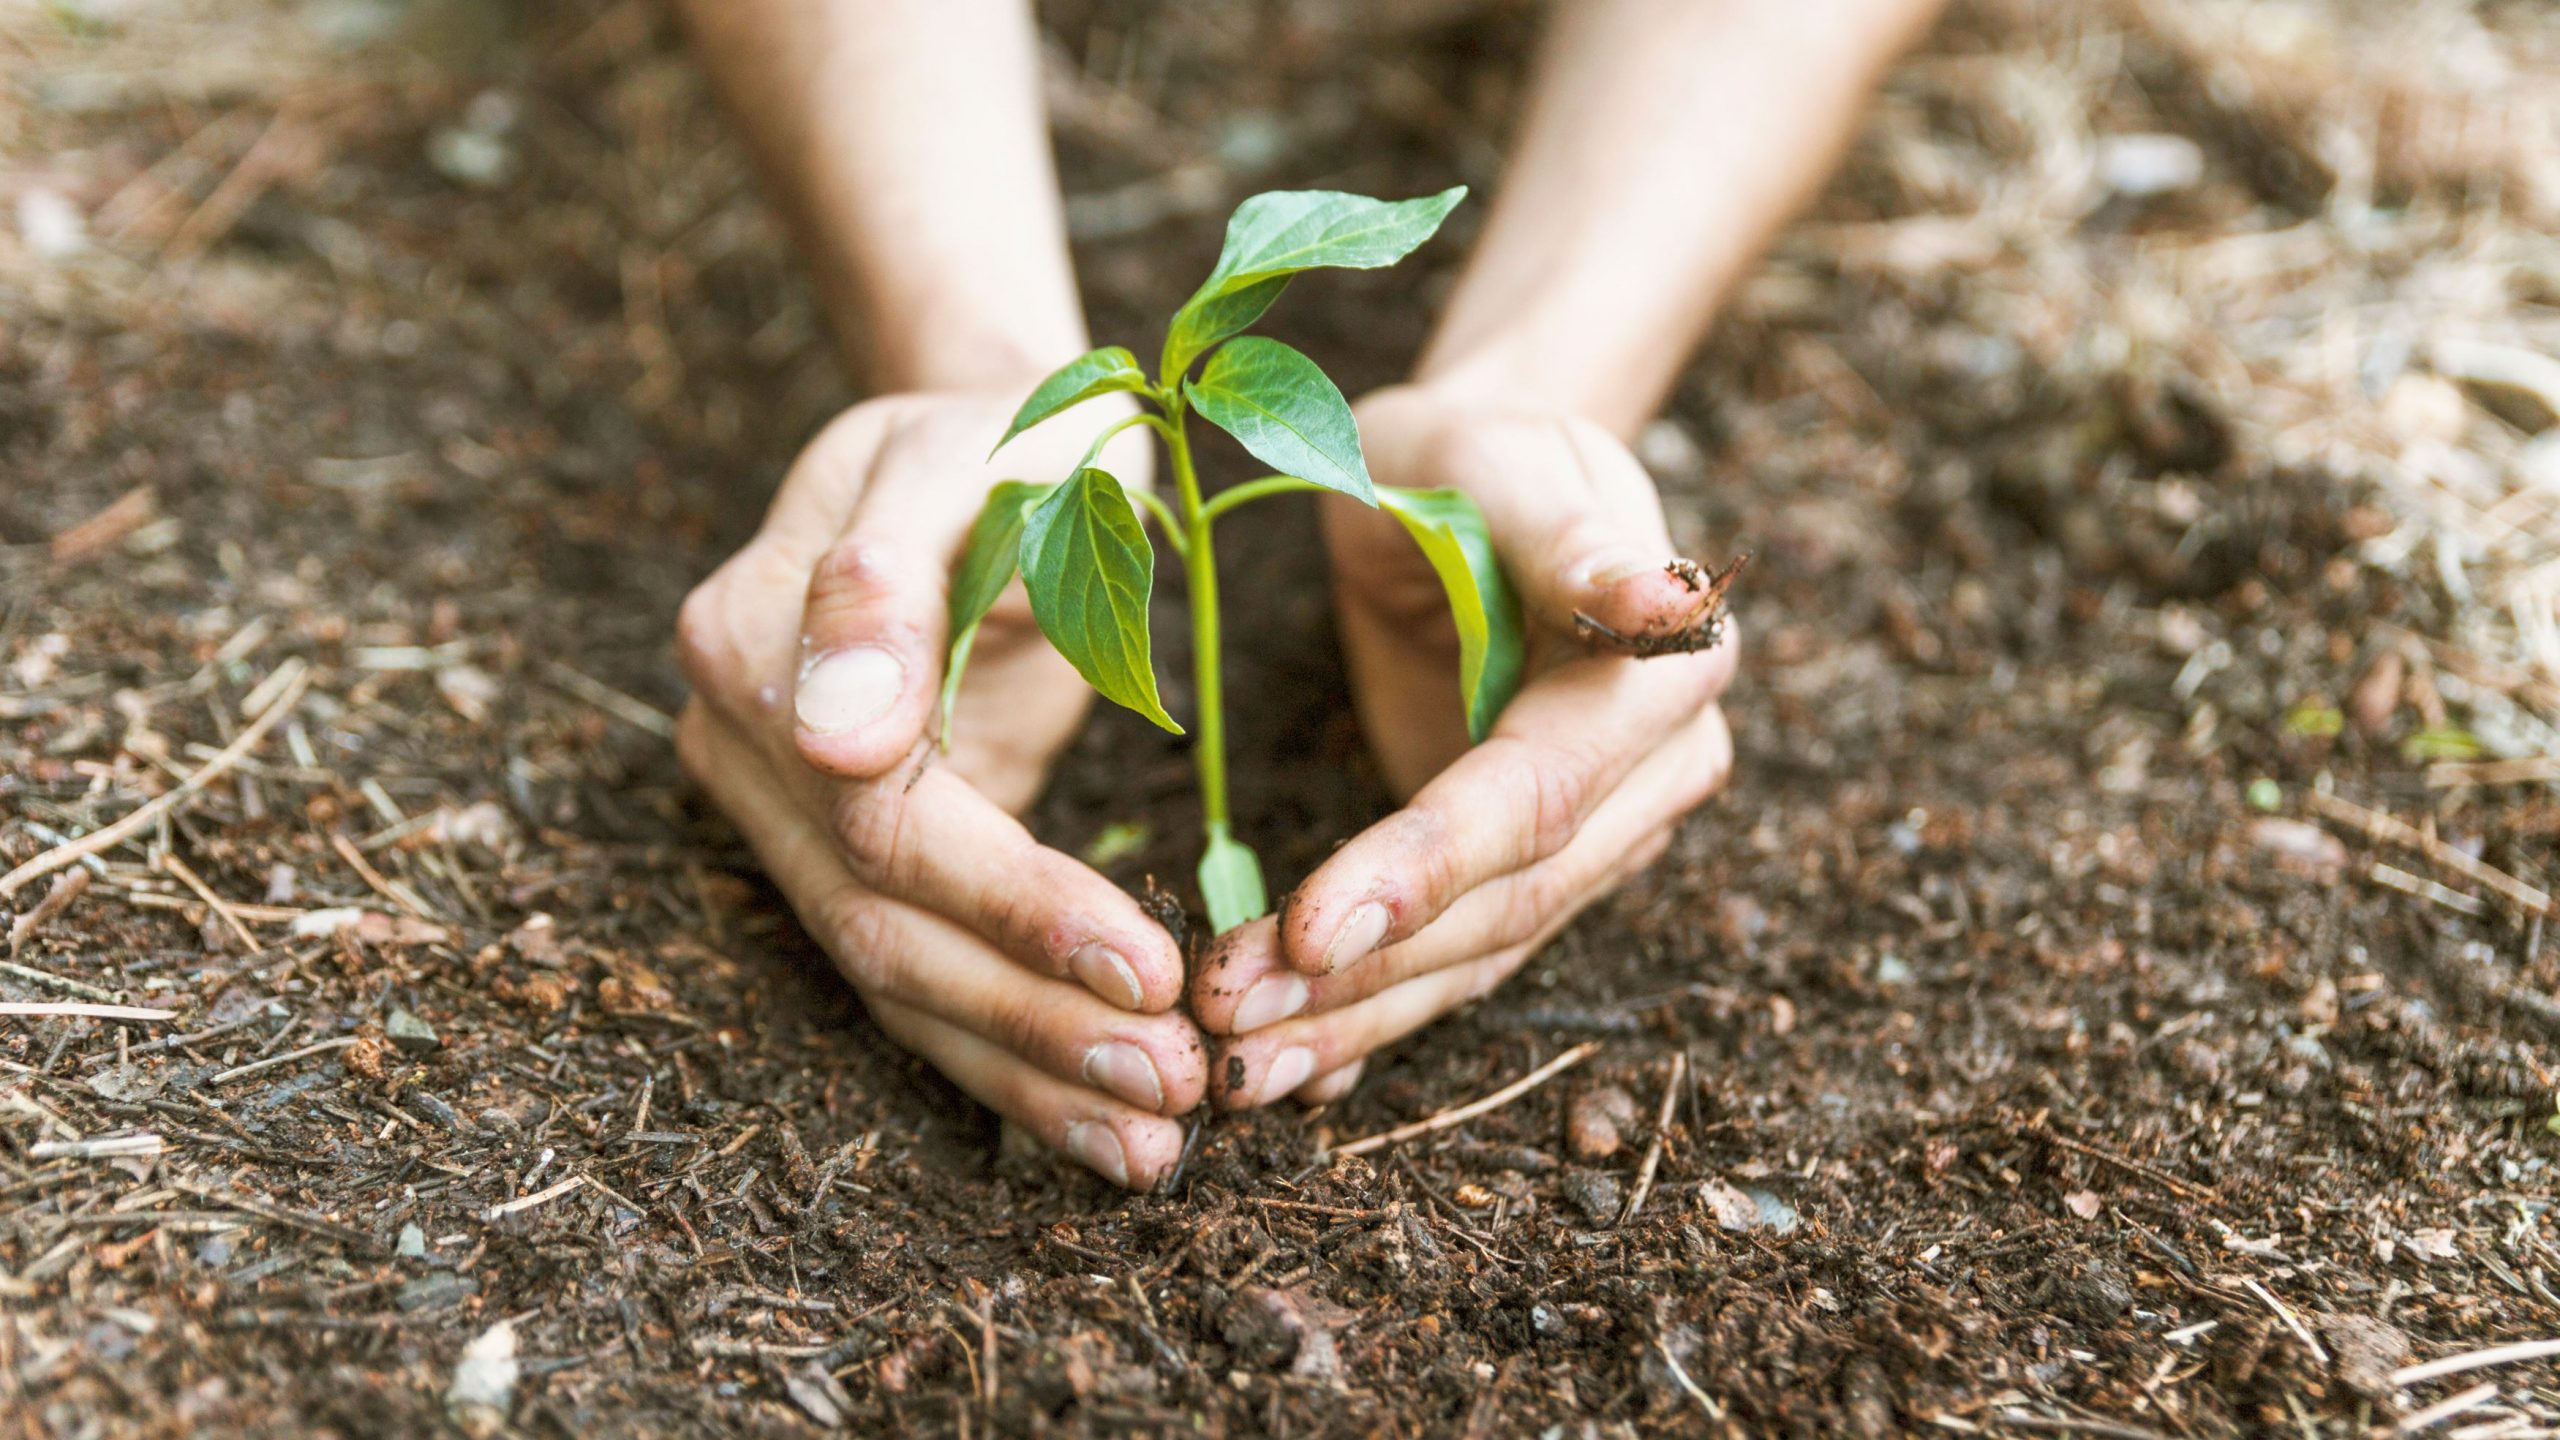
The Significance Of Proper Tree Planting Techniques

Proper tree planting techniques are of paramount significance because they ensure the successful establishment and long-term health of trees. When trees are planted correctly, they are more likely to thrive, provide their intended benefits, and contribute positively to the environment and community. Here’s why proper tree planting techniques are crucial:

Proper tree planting techniques are essential for maximizing the ecological, economic, and social benefits that trees offer. Investing time and effort in learning and implementing these techniques ensures that newly planted trees have the best chance of thriving and making a positive impact on the environment and society for generations to come.

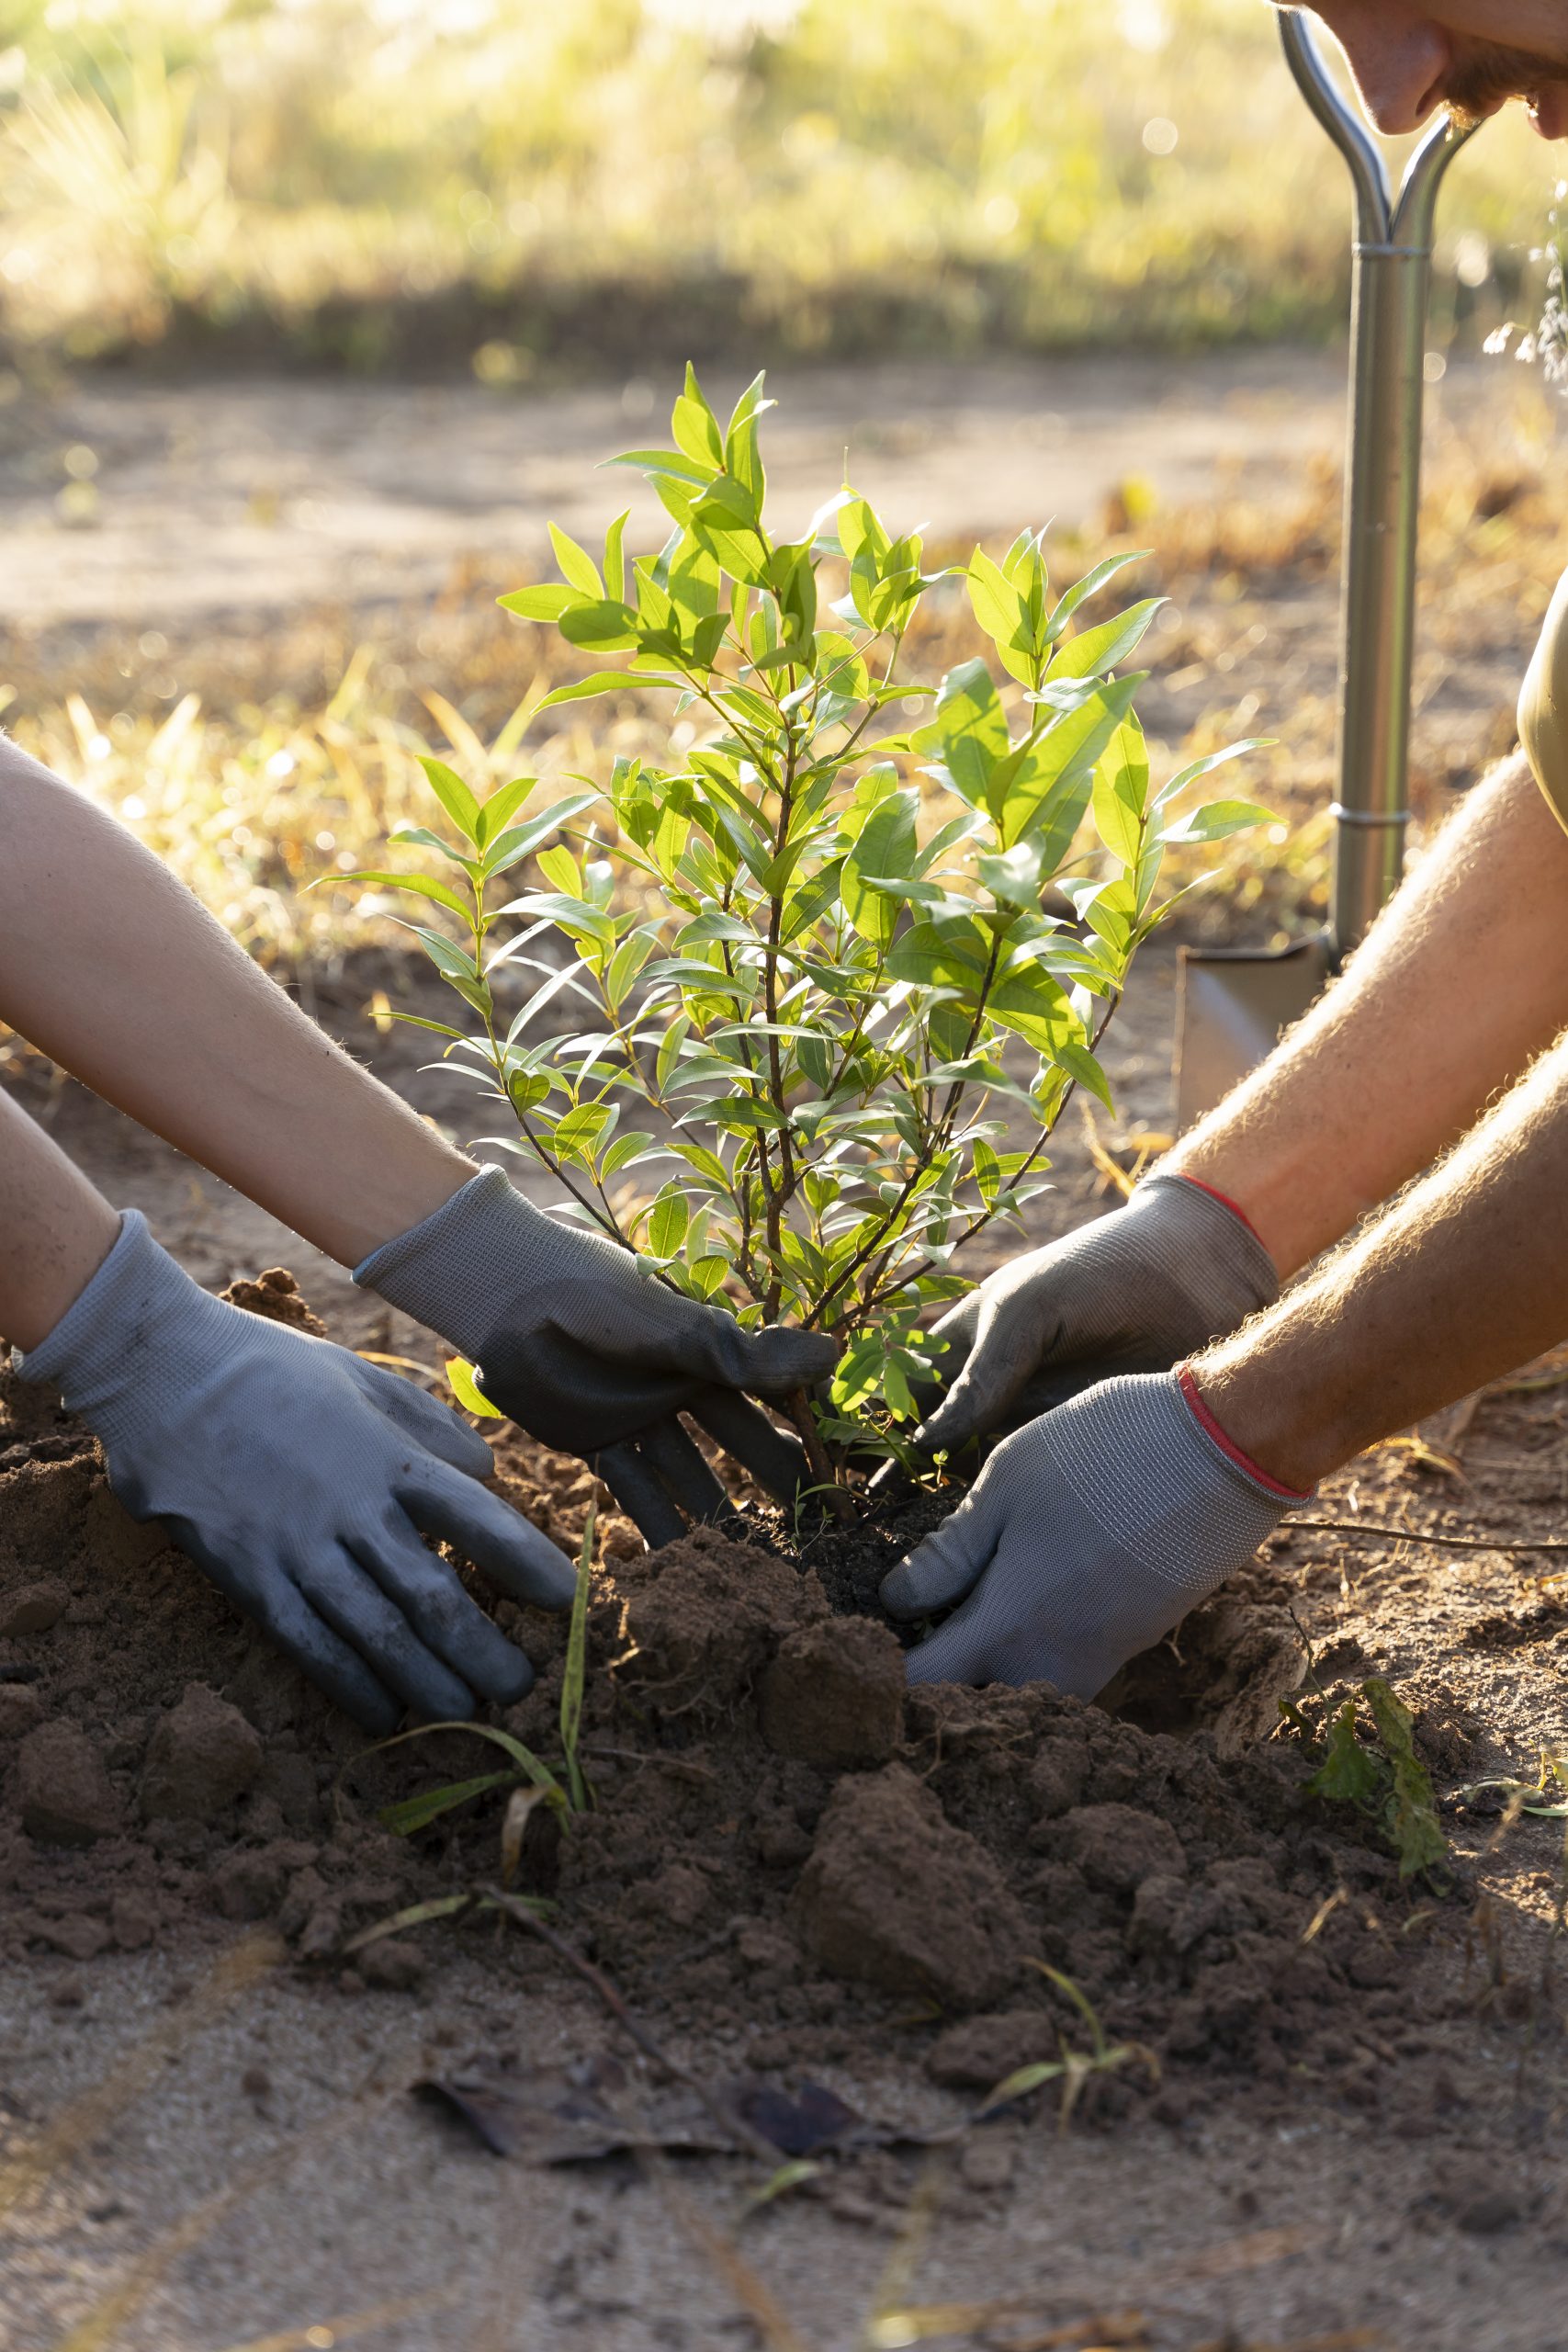
Common Mistakes And Their Potential Consequences

Common mistakes in tree planting can have significant consequences for the health and vitality of trees, as well as for the environment and the community. Understanding these mistakes and their potential repercussions is essential for promoting successful tree planting initiatives. Here’s an overview of common mistakes and their consequences:

Wrong Tree Species Selection:

Inadequate Site Preparation:

Improper Planting Hole:

Ignoring Root Health:

Planting Depth Errors:

Incorrect Mulching:

Watering Mistakes:

Improper Staking and Guying:

Lack of Pruning and Maintenance:

Community Disengagement:

Planting in Inappropriate Locations:

Ignoring Local Regulations:

Inadequate Tree Care and Monitoring:

Understanding these common mistakes and their potential consequences underscores the importance of following proper tree planting techniques and best practices. By avoiding these errors and promoting responsible tree planting, communities can maximize the benefits of trees while minimizing risks and long-term maintenance challenges.

[geocentric_weather id=”45ff4ccd-3d3f-498e-b0b9-91aaaf766bc4″]

[geocentric_about id=”45ff4ccd-3d3f-498e-b0b9-91aaaf766bc4″]

[geocentric_neighborhoods id=”45ff4ccd-3d3f-498e-b0b9-91aaaf766bc4″]

[geocentric_thingstodo id=”45ff4ccd-3d3f-498e-b0b9-91aaaf766bc4″]

[geocentric_busstops id=”45ff4ccd-3d3f-498e-b0b9-91aaaf766bc4″]

[geocentric_mapembed id=”45ff4ccd-3d3f-498e-b0b9-91aaaf766bc4″]

[geocentric_drivingdirections id=”45ff4ccd-3d3f-498e-b0b9-91aaaf766bc4″]

[geocentric_reviews id=”45ff4ccd-3d3f-498e-b0b9-91aaaf766bc4″]

Planting A Lemon Tree

Planting A Lemon Tree

Planting A Lemon Tree

How to plant and grow lemons

Lemon trees make an excellent addition to almost every backyard and if you get the growing process right, you’re ensured a regular, plentiful crop. The good news? It’s easier than you think to grow your own lemons – great news for all the foodies out there!

Lemon tree varieties

The most common varieties grown in Australia are Eureka, Lisbon and Meyer. Eureka produces its main crop in winter with smaller crops in spring and summer. Eureka lemons have relatively few seeds and the tree is virtually thornless growing to around four metres in height.
Lisbon is thornier and produces its main crop in winter and tends to be more cold tolerant. It grows around three to four metres tall.
Meyers has a milder, less acidic flavour with a smooth, thin rind. Its main crop is produced in winter but it can crop continuously throughout the year. It’s a small tree growing to around two metres in height, making it the ideal lemon tree to grow in a pot.

How to grow a lemon tree

Climate

The preferred climate depends on the variety of lemon, however most do well in warm climates. They tolerate drought but are sensitive to frost.

Aspect

Lemon trees require a position in full sunlight that is protected from winds and frost. If you’re growing a lemon tree in a cooler climate, plant it close to a brick wall so it can utilise the radiating heat.

Soil

Lemon trees can tolerate a range of different soils but they mostly prefer slightly acidic, well-drained soil.

Planting

You can plant lemon trees at any time of year in warmer climates, as long as you water regularly. In cold regions plant in spring to protect it from late frosts.

Citrus will thrive in large pots – choose one that is 50cm in diameter or more, with plenty of drainage holes, and fill with a premium quality potting mix. It’s a great idea to stand your pot on a trolley so you can easily move the pot to a sunnier or more protected position with the changing seasons.

If you’re planting a lemon tree in the garden, start by digging a hole twice a wide and as deep as the pot your citrus comes in. Remove it from the pot and inspect the roots, untangling any that appear to be circling around or those that are tightly packed into the shape of the pot. Plant so that the original soil level in the pot is level with your garden soil. Backfill the hole with the removed crumbled soil, and work compost or well-rotted cow manure into the top 10cm of soil. Add a mulch of straw to the soil surface, but keep this away from the trunk. Water immediately after planting and from then on keep the soil slightly moist.

Water

Lemons grow best in soils that are moist but not soggy. Water your tree every seven to 10 days during the summer, providing it with 4 to 6 inches of water each month. Allow the soil around mature trees to partially dry between waterings. Overwatered lemon trees may suffer from crown and root rots, while those not watered enough frequently shed blossoms and don’t produce as much fruit.

Feeding

Citrus produce loads of fruit! All that flowering and fruiting is a big consumer of energy so make sure you feed up your lemon tree to ensure further crops. You can tell if your tree is undernourished by poor stunted growth or yellowing leaves. Feed twice a year with citrus food, once in February and again in August. Follow the directions on the packet and water the soil well both before and after applying the fertiliser.

How to prune lemon trees

Pruning lemon trees is important for growing healthier and more plentiful fruit.

It’s best to prune your lemon tree from late winter to early spring, right after harvest. Young trees should be pruned to establish a good shape, remove any sprouts or weak limbs so the plant can focus on growing a strong canopy.

When to harvest your lemons

Lemon trees generally take around two to three years to bear fruit and harvesting depends on the variety of plant. Eurekas produce fruit two to three time a year while Lisbons fruit once a year.

Lemons are ready to harvest when they have developed full colour and flavour. Harvest lemons when their peels are yellow or only a green tinge, with a slightly glossy appearance. The longer the fruit stays on the tree the sweeter it will become so some suggest picking and tasting your fruit to determine how the crop is developing.

To pick lemons, use the twist, tilt and snap method. Take the entire fruit in your hand and twist it gently, tilting and pulling away until it breaks free.

How to propagate a lemon tree

To propagate a lemon tree it’s best to take a cutting in late spring or early summer. Choose a 15 centimetre piece of a healthy young branch without fruit or flowers and at least two to three nodes at the base. Us a non-serrated, sanitised knife to cut the stem at a 90-degree angle. Wrap cuttings in a moist paper towel to prevent dehydration.

Remove bottom leaves so the cutting has only three or so leaves at the top and dust the bottom with a hormone-based rooting powder. Plant the cutting in a large, well-draining pot with seed starter mix and cover it with a large clear plastic bag to create a warm, humid environment. Use chopsticks, wire or dowel to keep the bag from resting on the cutting. Keep the soil moist.

Once roots develop, remove the plastic covering. After a few days move the cutting outside in a sheltered location. Once the roots of the plant nearly fill its pot its time to plant it in a larger pot or garden.

Pests and disease

Scale insect: Found on stems and leaves, they have a waxy brown shell. Spray these sap-sucking insects with organic eco oil.

Leaf Miner: Tiny burrowing mites causing silvery trails and twisted leaves. They attack only fresh new leaves, so spray the new growth once a fortnight with eco oil until the leaves have matured and turned a dark green colour.

Stink bugs: May appear in large numbers from October. Knock them off the branches and squish them underfoot, but wear protective goggles as then bugs can squirt a painful liquid into your eyes.

Sooty mould: A black crusty coating on the leaves indicating the presence of a sap-sucking insect lurking higher up, such as aphids, scale or mealybugs. Treat the insect above and the sooty mould will clear up by itself. The mould is not harmful, it just looks yucky.

As long as you provide their basic needs, growing lemons can be a very rewarding experience. Outdoors Lemons are more cold-sensitive than all other citrus trees. Due to this cold sensitivity, lemon trees should be planted near the south side of the home. Lemon trees need protection from frost. Growing them near the house should help with this. Lemon trees also require full sunlight for adequate growth. While lemon trees can tolerate a range of soils, including poor soil, most prefer well-drained, slightly acidic soil. Lemon trees should be set slightly higher than ground. Therefore, dig a hole somewhat shallower than the length of the root ball. Place the tree in the hole and replace soil, tamping firmly as you go. Water sufficiently and add some mulch to help retain moisture. Lemon trees require deep watering once weekly. If necessary, pruning may be done to maintain their shape and height. Indoors Lemons can make excellent houseplants and will be comfortable in a container as long it provides adequate drainage and room for growth. Heights of around 3 to 5 feet (1-1.5 m.) can be expected for a lemon tree growing indoors. They also prefer well-draining, slightly acidic soil. Keep the soil evenly moist and fertilize as needed. Lemon trees thrive within a normal temperature range of about 70 F. (21 C.) throughout the day and 55 F. (13 C.) at night. Keep in mind that they will usually go into dormancy when temperatures fall below 55 F. (13 C.) Lemon trees require lots of light; therefore, they may need to be supplemented with fluorescent grow lights during winter. Explore More Lemon trees can be placed outdoors during warm periods, which is also recommended in order to increase their chances of bearing fruit. When you grow a lemon tree indoors, bees and other insects are unable to pollinate them.

Therefore, you should place them outdoors during summer unless you want to hand pollinate. Propagating for Lemon Tree Cultivation Many lemon trees are container-grown, purchased straight from the nursery. However, they can be propagated through cuttings, air layering, and seeds. The variety usually dictates the best method used; yet, different people see different results using different methods. Therefore, it’s best to find the method that works for you. The majority find it easier to propagate lemons by rooting large cuttings. While seeds can be used, the seedlings are usually slow to bear. When choosing to grow from seeds, allow them to dry out for a week or two. Once dried, plant the seeds about an inch deep in good potting soil and cover with clear plastic wrap. Set the pot in a sunny location and wait for it to reach 6 to 12 inches (15-30 cm.) before transplanting outdoors or to another pot.

[geocentric_weather id=”45ff4ccd-3d3f-498e-b0b9-91aaaf766bc4″]

[geocentric_about id=”45ff4ccd-3d3f-498e-b0b9-91aaaf766bc4″]

[geocentric_neighborhoods id=”45ff4ccd-3d3f-498e-b0b9-91aaaf766bc4″]

[geocentric_thingstodo id=”45ff4ccd-3d3f-498e-b0b9-91aaaf766bc4″]

[geocentric_busstops id=”45ff4ccd-3d3f-498e-b0b9-91aaaf766bc4″]

[geocentric_mapembed id=”45ff4ccd-3d3f-498e-b0b9-91aaaf766bc4″]

[geocentric_drivingdirections id=”45ff4ccd-3d3f-498e-b0b9-91aaaf766bc4″]

[geocentric_reviews id=”45ff4ccd-3d3f-498e-b0b9-91aaaf766bc4″]

Fiddle Leaf Fig Care

Fiddle Leaf Fig Care

Fiddle Leaf Fig Care

Native to the rainforests of western and central Africa, the Fiddle Leaf Fig Tree (Ficus lyrata) is a stunning plant with huge green leaves and an even larger following of houseplant fans. Despite its popularity, it’s certainly not the easiest houseplant to look after, but its visual impact in a space is unmatched when given proper conditions and care.
The Fiddle Leaf Fig appreciates a warm, humid environment, a fair amount of water and plenty of light. Choose a location away from air vents and drafts where the tree will receive plenty of bright ambient light. Directly in front of, or close by a southern or western facing window is ideal, and eastern exposure can also work as long as the plant is directly in the window and the space feels very bright. A few hours of direct sun is also beneficial. If placed in a full-sun location (where the plant will receive over 6 hours of direct light daily), a humid environment will keep your Fiddle Leaf looking its best. We do not recommend this plant for windows with northern exposure. They will not thrive in low-light locations.

If you’re unsure about your lighting conditions, placing the tree directly next to the window is the safest bet. We also have a guide for how to measure light in your space.

Fiddle Leaf Fig Trees are particularly sensitive to environmental changes. They will likely take a little time to adjust to their new home. Be sure to follow the care instructions, and don’t panic if yours loses a few leaves. If leaf discoloration or leaf loss persists, please reach out and we will help troubleshoot!

Lastly, if you are using a container made from organic materials to pot your Fiddle Leaf in, we highly recommend using a waterproof saucer underneath to protect your floors, as humidity may accumulate beneath the pot due to the volume of water this plant requires.

Fiddle Leaf Fig Leaf

The common name for this plant, Fiddle Leaf Fig, comes from the fact that the leaves are the size and shape of a fiddle.

Routine Maintenance

Always be sure to assess your plant’s watering needs upon receiving it. Before giving your plant a drink, it is best to check the moisture level in the soil first to ensure it isn’t moist right beneath the surface. Also, consider aerating the soil of your plant before the initial watering. Many growers compact the soil to avoid shifting during transit, so aerating can aid in drainage, help the soil breathe and allow moisture to be released.

The Fiddle Leaf Fig likes its soil to be kept consistently, evenly moist with a brief drying out period between watering as it comes from an area of the world that gets very dry between rain storms. Water it thoroughly whenever the top 2” of soil have dried. Allowing the soil to dry deep to the lower root system will lead to leaf loss, so be sure to check in with the soil regularly until you develop a routine with your plant. In contrast, too much moisture in the soil can lead to root rot and also cause leaves to drop.
The best way we have found to obtain an accurate moisture reading throughout the soil is with a soil probe, which allows you to check your plant’s moisture level at the root level and can also be used to aerate the soil if ever overwatered. Our Monitor Brass Soil Probe is an elegant option.

We highly recommend potting your Fiddle Leaf, as it is a challenging plant to keep alive long term in its nursery pot — however make sure to pot it in a permanent planter with plenty of soil mass and crucially, drainage. If your Fiddle Leaf Fig is planted in a container without a drainage hole, you must be very careful not to overwater. In this scenario we suggest allowing your Fiddle Leaf Fig to dry out slightly more between waterings and use a soil probe to see how damp the soil is at the root level before watering. These plants do particularly well in our self watering containers!

Frequently Asked Questions

Does my Ficus have a bacterial infection or root rot?

Probably not. Although the internet is ablaze with this diagnosis, we’ve found this affliction to be exceedingly rare in the thousands of Ficuses we’ve cared for through our sister company, Greenery NYC. It’s probably another problem such as low light or overwatering. However, we have a guide on how to identify fungal and bacterial leaf spotting if you’re interested in learning more.

Help! My Fiddle Leaf Fig dropped a leaf!

Ficus trees are sensitive to environmental change and transplanting. The dry, cold air is a big shift from the warm humidity of the greenhouse, and Ficus will temporarily go into shock and drop leaves. Don’t worry, this is a temporary state. It will take a couple of weeks for your tree to normalize and it might drop a couple of leaves in the process. However, if the leaves continue to drop it could be a sign of improper light or water.

My Fiddle Leaf Fig has brown spots and the leaves are dropping. What do I do?

The number one mistake most people make in taking care of their plants is overwatering. Fiddle Leaf Fig Trees prefer to dry out slightly between watering, and while they take a good deal of water to keep healthy, soggy soil will drown the plant. If your leaves start to brown and fall and the soil is moist, let the plant dry out until the soil becomes completely dry.

The second biggest mistake people make is not enough light. Fiddle Leafs need a lot of light to thrive and will start shedding their leaves if they’re not absorbing enough energy. If you’re unsure about where to put your plant, it’s best to place it by a window. For more information visit our lighting guide.

Under watering can also be a big killer of the fiddle leaf fig. When under watered, the rim of the leaves will start to brown and curl in, which will eventually spread throughout the leaf. Under watered leaves that have fallen will normally be either fully brown or mostly brown, and dry to the touch.

Brown fiddle leaf fig (ficus lyrata) leaf, due to over watering.Brown holes on a fiddle leaf fig leaf (Ficus lyrata) due to lack of light. LEFT: An example of overwatering on a dropped leaf. Note the browning spreading through the leaf’s veins from the central node (or midrib), a telltale sign that the plant has received excessive water. RIGHT: Brown spotting or holes in the leaves typically signal that the plant isn’t receiving enough light. This is common on the lower leaves of the tree, which can become shaded out over time.

How do I tell when my Fiddle Leaf Fig Tree needs water?

Once you’ve established that the top few inches of soil have dried, the easiest way to tell if your Fiddle Leaf needs water is to look at the leaves. If the leaves are not rigid and upright, and they start to look floppy, they’re telling you they need water. Be sure to check in regularly with your tree to ensure you don’t underwater until you establish a routine.

Underwatered Fiddle Leaf Fig / Ficus Lyrata before and afterAn underwatered Fiddle Leaf Fig tree on the left, and the same tree less than 24 hours later.

How much light is too much light for the Fiddle Leaf Fig?

Fiddle leaf fig sunburn.Sunburn on a Fiddle Leaf Fig’s leaves.

Fiddle Leaf Figs will generally do fine if placed right in front of a window in NYC. However, they can’t take extended periods of full sun (being placed outside on a sunny day). In extremely bright apartments (i.e. floor to ceiling windows) they may get sunburned, and in this instance your safest bet is putting them in front of the window with a sheer curtain. Do not block the light with a partial shade like a solar shade as they will block out the full spectrum of the sun’s radiation.

Can I put my Fiddle Leaf Fig Tree next to the AC / heater?

Fiddle Leaf Fig Trees are tropical plants that appreciate a humid environment. If conditions are too dry they will drop their leaves. While Fiddle Leafs will thrive in an air conditioned apartment, always avoid putting them in the direct line of fire for either AC or heating units. If their leaves are wagging from the air, it’s best to find another spot.

How often should I fertilize my Fiddle Leaf Fig?

In general, house plants will thrive when they are fertilized spring through fall. Fertilize once a month with an organic houseplant fertilizer, following the package instructions for dilution and administration. Greenery NYC uses an organic potting mix with a slow release fertilizer in the soil, so your plant will not need fertilizer within the first 6 months of receiving it.

How often does my Fiddle Leaf Fig need to be repotted?

For larger floor plants, we suggest repotting every 18-24 months. Typically you want to choose a potting vessel 2”- 4” larger in diameter to allow for growth. Don’t choose a pot much larger than the previous as this could drown the plants roots. If you prefer to maintain the current size of your plant, repot into the same vessel, providing new soil and trimming away some roots and foliage. Spring or summer is the ideal time to repot as the plant is at its strongest.

[geocentric_weather id=”c5b00a48-8396-43fe-aa23-de2faae505b1″]

[geocentric_about id=”c5b00a48-8396-43fe-aa23-de2faae505b1″]

[geocentric_neighborhoods id=”c5b00a48-8396-43fe-aa23-de2faae505b1″]

[geocentric_thingstodo id=”c5b00a48-8396-43fe-aa23-de2faae505b1″]

[geocentric_busstops id=”c5b00a48-8396-43fe-aa23-de2faae505b1″]

[geocentric_mapembed id=”c5b00a48-8396-43fe-aa23-de2faae505b1″]

[geocentric_drivingdirections id=”c5b00a48-8396-43fe-aa23-de2faae505b1″]

[geocentric_reviews id=”c5b00a48-8396-43fe-aa23-de2faae505b1″]

Bamboo Plants Care

Bamboo Plants Care

Bamboo Plants Care

Care of Your Bamboo Plants

Bamboo is a very easy plant to care for, follow these tips and the planting guide and you will see the true beauty of what a bamboo grove can provide. New plants require some care to get established, but overtime can typically take care of itself.

Watering

This is the most important part. Watering will help establish your planting and produce better results. Over the next couple of weeks, daily watering is recommended. If your plant does begin to loose leaves, it may be just adjusting to its new home and sunlight conditions. Even under most all conditions, the bamboo will retain 70% of its leaves. After a period of time, it should put on new leaves to replace the ones it dropped during the transition. If any stress like defoliation is noticed increase watering times. Water is the key for health bamboo. During the hot summertime even established bamboo will roll their leaves to prevent transpiration. This is a neat characteristic of bamboo so, do not be alarmed to see your bamboo roll up its leaves. If you water it during very hot times that is great and will assist the bamboo during its growth. Once established, bamboo needs little care and normal rainfall is generally all that is needed. Watering daily if you have well drained soil is great! The only time you should not water, is when the bamboo is sitting in standing water. Remember the bamboo canes on your existing division are through growing. Most all the growth now will be under ground. Each spring new canes will emerge taller and larger in diameter each year until mature size for your species and climate zone are reached.

Fertilizers

The three numbers on fertilizers are important factors. The first number represents nitrogen. Nitrogen is the element for growth. The second number is phosphorus and it has to do with the transfer of carbohydrates. Carbs are essential for the bamboo to store nourishment in the rhizomes. The last number represents potassium and is necessary for photosynthesis. This is very important for the plant’s metabolism. Extra amounts of this element helps the bamboo to withstand drought, heat and cold.

Lucky Bamboo

Lucky bamboo has been a staple in homes and Feng Shui for years. It’s a symbol of luck and prosperity making it a common gift and the perfect small house plant. Learn more about why this plant is so popular and how you can grow one of your own.
Lucky bamboo (Dracaena sanderiana) – 2.5 suns out of 5. Three water drops out of five, temperature 65–95 degrees farenheit. Toxicity: harmful to cats and dogs.

Lucky bamboo (Dracaena sanderiana) is surprisingly not actually bamboo as its scientific name suggests: It’s part of the Dracaena genus. The lucky bamboo plant is from Southeast Asia and is well-known for its use in Feng Shui for over 5,000 years. In these practices, it is said to represent good luck and happiness, making it an ideal and popular gift in business and personal matters. Another factor that makes lucky bamboo so popular is its ability to be trained into shapes like a swirl, heart, braid and other designs. See the sections below for a more in-depth look at the symbolism of lucky bamboo and how to create different bamboo designs.
Lucky bamboo is an easy plant to care for which makes it great for offices and homes alike. It’s happy growing in soil or water but has the longest life when grown in soil. Because it’s a Dracaena, lucky bamboo care is more in line with Dracaena care as opposed to bamboo. If growing in water, it should be replaced every week. If planted in soil, the soil should be kept slightly damp, so don’t overwater or let it get dry. Lucky bamboo does best in indirect light and in the temperature range of 65–95°F (18–35°C). It loves these somewhat tropical conditions and is considered to be in the hardiness zones of 10–11.

Lucky Bamboo Care Tips

A shelving unit with a marble pot and bamboo inside and a white decorative jar and two dried flowers. The bottom shelf has two glass jars.

It’s fairly simple to learn how to care for lucky bamboo. We’ve included in-depth information on sunlight, water, temperature, toxicity, potting, propagation needs and common pests and problems. Our quick step-by-step bamboo care guide can be seen below:

Carefully remove any packaging and add rocks to your container to act as an anchor.

Place your bamboo in indirect sunlight.

Fill your container with enough water to cover the roots.

Lucky bamboo prefers a temperature range of 65–95°F (18–35°C).

Optional: use a liquid houseplant fertilizer every three to four weeks.

Remove any yellow leaves.

Repot the bamboo as its roots outgrow the container.

Sunlight With A Sun Symbol

Sunlight: Lucky bamboo requires moderate or indirect sunlight. Direct sunlight will scorch the leaves, so avoid placing your plant in front of a bright window. Scorched leaves look like how they sound: The edges of the leaves will have a brown tinge to them almost like they were burned by fire. If your leaves look a little scorched, move your bamboo to an area with less light.

Water With A Symbol Of A Water Drop

Water: If growing your plant in soil, make sure it’s kept slightly damp. Don’t let the soil get too dry and don’t overwater since that can lead to root rot. Bamboo does not need much water to survive, but it can be grown in water as well. If you choose to grow your bamboo in water, make sure the roots always stay covered with water. Replenish your lucky bamboo with fresh water every seven to 10 days to keep it happy and healthy.

Algae can form in the water, so try to clean out the container and change the water regularly (about once a week). Tap water is okay for the bamboo plant to drink, as long as chlorine levels are low. To be safe, leave tap water out overnight so the chlorine can evaporate before you use it to water your lucky bamboo.

If you have high levels of fluoride in your tap water, we recommend using filtered water, such as bottled water. Fluoride will not evaporate and is toxic to plants like lucky bamboo.

Temperature With A Thermometer Symbol

Temperatures: Lucky bamboo thrives in temperatures anywhere from 65–95°F (18–35°C), so it makes a great office or house plant. During colder months, be wary about leaving your plant near windows or other places with a cold draft.

Twisted bamboo in a glass jar on a living room coffee tablecopy: toxicity with a skull and cross bones symbol
Toxicity: Lucky bamboo is toxic for cats and dogs, so make sure to keep it out of reach. If consumed by your fur babies it can cause incoordination, weakness, vomiting, abdominal pain, diarrhea, drooling and dilated pupils. Lucky bamboo is not toxic to humans, however.

Pests And Problems With A Symbol Of A Bug

Pests: Some common pests that affect lucky bamboo include mealybugs, mites and fungal infections. If you notice grey fuzz on your plant it could be a fungal infection, so remove the infected growth, keep the stalk and leaves dry, and increase air circulation. Mealybugs are small white insects that should be removed manually and with rubbing alcohol. Although mites (presented as white webbing or fuzz) don’t typically affect lucky bamboo, they can be caught by other household plants. They need to be eradicated with water and dish detergent.
Problems: Your lucky bamboo should be green, but if any part of the stem or leaves are yellow, this indicates your plant could be sick. Remove the yellow part of the stem or the leaves completely so it doesn’t spread to the rest of the plant.

Repotting And Propagation With A Symbol Of A Potted Plant

Repotting: How do you know when to repot your bamboo? You should repot once the roots become too tight in the container. Once you see the roots crowding, move the bamboo to a larger container. If your plant is growing in just water, simply move it to a new vase. If you’re using rocks, dump them out, place your plant in the new container (or trim back the roots to use the same container) and replace the rocks. If you’re using soil, dampen the soil, flip the plant with your hand on the stalks and soil to remove the plant, and move it to a larger pot.

Propagation: To propagate a lucky bamboo plant, first identify a healthy parent stalk (should have more than two bamboo segments) with an offshoot. Clip the offshoot from where it connects to the parent plant stalk and remove its bottom layer of leaves to create a new independent stalk. Place the new stalk in a small container of water and nurture the plant as you would a larger one. Repot as needed.

Lucky Bamboo Symbolism

Traditional Chinese bamboo in a gold pot with a red ribbon and a metal coin.

Lucky bamboo is a perfect option if you’re looking for a Feng Shui compatible plant. According to the Chinese practice, lucky bamboo is related to the five elements: Earth (pebbles in the container), wood (the plant itself), water (the water in the container), fire (the red ribbon often tied on the plant) and metal (the metal coin attached to the ribbon). Since the bamboo is hollow it’s said to be a great conductor of Chi energy. This allows wisdom and prosperity to flow through. The amount of stalks also has a big effect on the meaning of a particular lucky bamboo plant. They all have positive meanings except for four-stalk lucky bamboo, which is one you should avoid.
One stalk: represents unity and unobstructed flow of energy.

Two stalks: represents good luck in love (a great gift for a partner).

Three stalks: represents continued growth, birth and family.

Four stalks: represents death (avoid this plant, it is also considered a rude gift).

Five stalks: represents wealth, longevity, luck, happiness and prosperity.

Six stalks: represents wealth through opportunity and luck (great for businesses).

Seven stalks: represents health and personal growth.

Eight stalks: represents infinite energy and many blessings.

Nine stalks: represents success and gratitude.

[geocentric_weather id=”777bf85e-d256-4222-b667-9d333cd326c7″]

[geocentric_about id=”777bf85e-d256-4222-b667-9d333cd326c7″]

[geocentric_neighborhoods id=”777bf85e-d256-4222-b667-9d333cd326c7″]

[geocentric_thingstodo id=”777bf85e-d256-4222-b667-9d333cd326c7″]

[geocentric_busstops id=”777bf85e-d256-4222-b667-9d333cd326c7″]

[geocentric_mapembed id=”777bf85e-d256-4222-b667-9d333cd326c7″]

[geocentric_drivingdirections id=”777bf85e-d256-4222-b667-9d333cd326c7″]

[geocentric_reviews id=”777bf85e-d256-4222-b667-9d333cd326c7″]